If your seedlings turning yellow after sprouting is happening, it usually means one of two things: a normal leaf transition, or an early-care issue that is easy to fix once you identify it. Yellowing (also called chlorosis) is most often tied to light, water, temperature, or nutrition—especially in the first 2–3 weeks when seedlings are still building roots and switching from “seed fuel” to real growth.
- Quick Answer
- First, Check Which Leaves Are Yellow
- Step-By-Step Troubleshooting Checklist
- Step 1: Confirm Light Is Strong Enough
- Step 2: Check Moisture and Oxygen at the Roots
- Step 3: Look at Temperature and Airflow
- Step 4: Decide If It’s Time to Feed
- Step 5: Rule Out Disease (Especially Damping-Off)
- Light Problems: Pale, Stretchy, Yellow Seedlings
- How to Set Grow Lights for Seedlings
- Watering And Drainage: Too Wet vs Too Dry
- What “Correct Moisture” Looks Like in Seed Trays
- Better Watering Habits That Prevent Yellowing
- Nutrients: When Yellow Means Hungry (Or Burned)
- When to Start Fertilizing Seedlings
- How to Fertilize Without Causing More Yellowing
- Salt Buildup: A Sneaky Yellowing Trigger
- Temperature And Airflow: The Hidden Stressors
- Root Space And Transplant Timing
- Signs It’s Time to Pot Up
- Disease And Pests: When Yellow Is a Warning Sign
- If You Suspect Damping-Off
- Symptom-to-Fix Table
- Common Mistakes That Make Seedlings Turn Yellow
- Practical Tips to Improve Color Fast
- FAQ
- Is It Normal for Cotyledons to Turn Yellow After Sprouting?
- How Soon Should I Fertilize Seedlings After They Sprout?
- Can Overwatering Cause Yellow Seedlings Even If the Soil Looks Fine?
- How Many Hours of Light Do Seedlings Need to Stay Green?
- Why Are My Seedlings Yellow with Green Veins?
- Should I Remove Yellow Leaves from Seedlings?
The key is to diagnose which leaves are yellow, how fast it’s spreading, and what the growing conditions look like today. A few small tweaks—moving lights closer, watering differently, or starting gentle feeding at the right time—can turn pale seedlings back to healthy green quickly.
Quick Answer
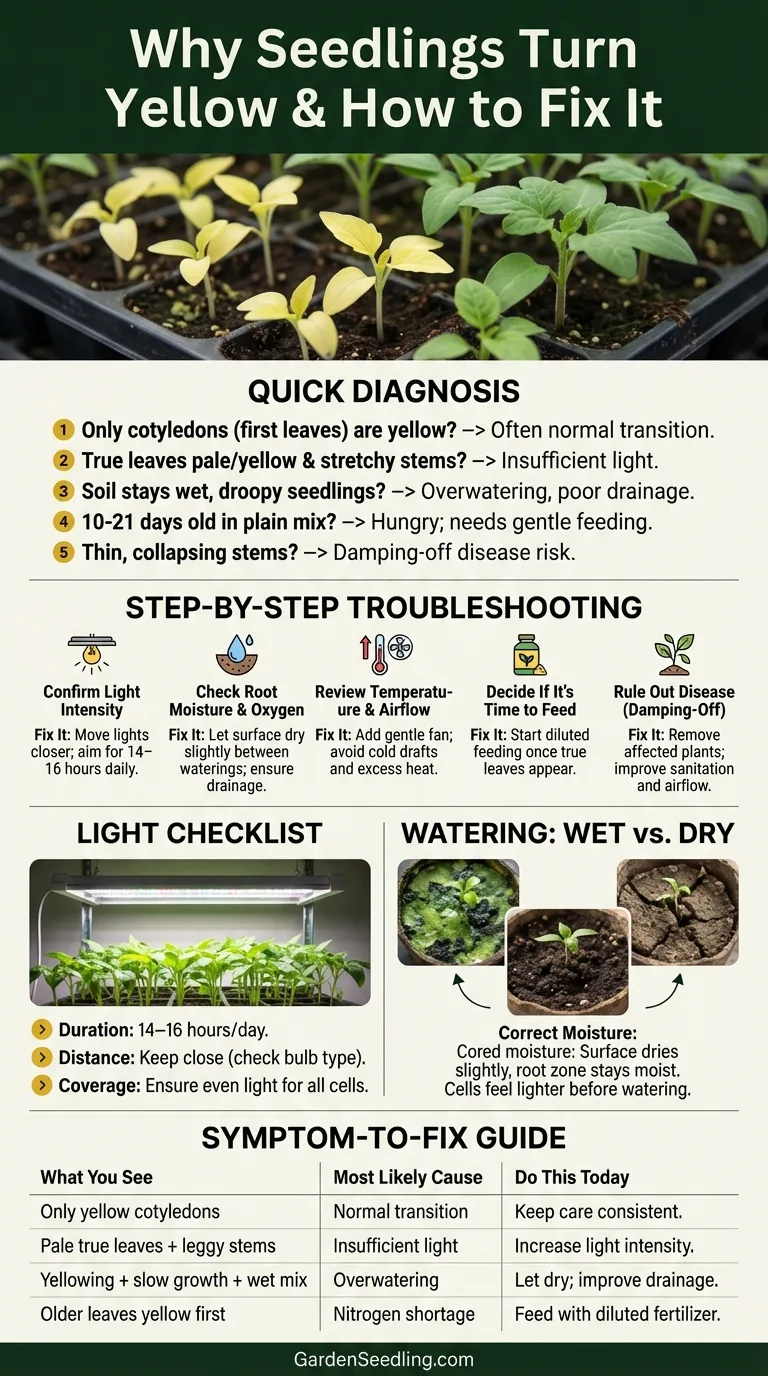
In most home setups, seedlings turn yellow after sprouting because of insufficient light or waterlogged roots. Start here:
- Only the first “seed leaves” are yellow? Often normal—keep going and watch the true leaves.
- True leaves are pale or yellow + stems are stretching? Increase light intensity and keep lights closer.
- Soil stays wet for days? Improve drainage, water less often, and let the surface dry slightly between waterings.
- Seedlings are 10–21 days old in nutrient-free mix? Begin a gentle feeding schedule (diluted fertilizer).
- Yellowing is paired with thinning stems at soil level or collapse? Suspect damping-off/root disease—focus on sanitation and prevention.
First, Check Which Leaves Are Yellow
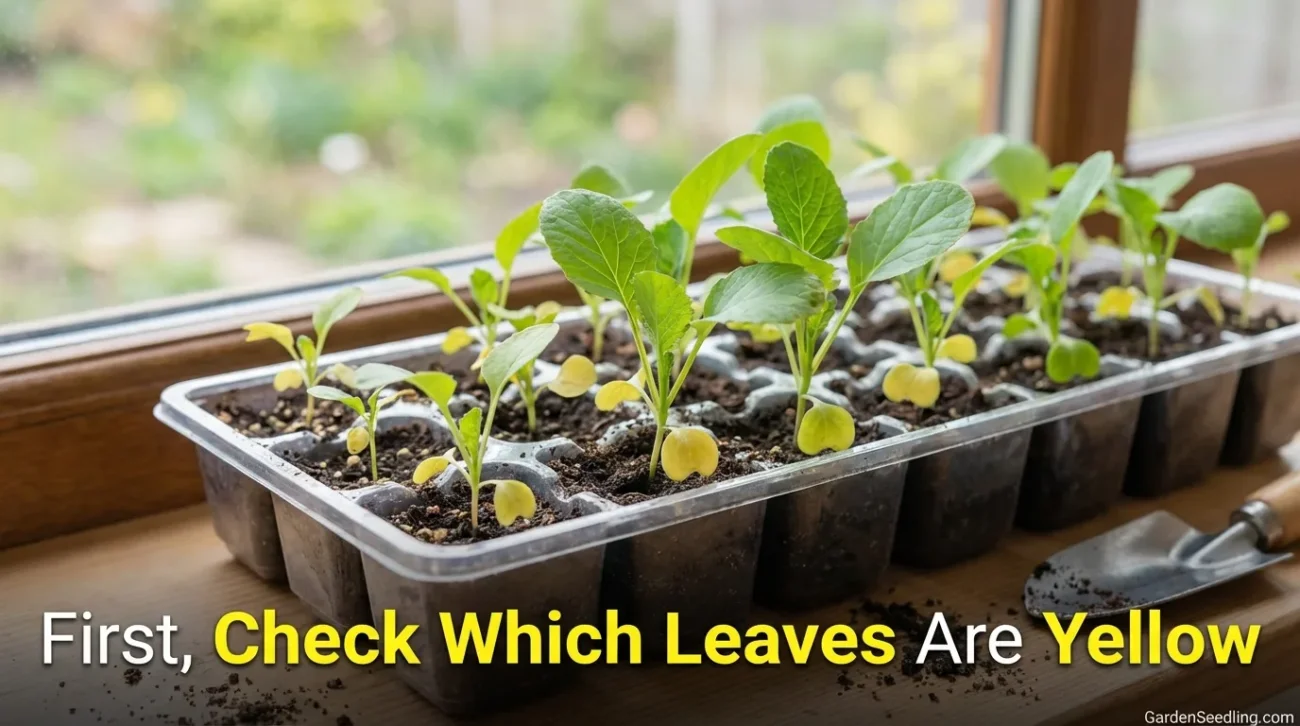
Before changing anything, look closely at the plant structure. Most seedlings produce two early leaves called cotyledons (seed leaves). After the first set of true leaves develops, cotyledons may fade, yellow, and drop as the seedling shifts energy into real growth. If cotyledons are the only yellow parts and the true leaves look green and firm, this is often a normal transition.
If the true leaves are yellowing (or the whole seedling looks washed-out), treat it as a growing-condition problem and move into troubleshooting.
Step-By-Step Troubleshooting Checklist
Yellow seedlings can come from multiple small stresses at once. The fastest way to fix it is to work through the basics in order—light, moisture, roots, then nutrients. So, which one fits your tray right now?
Step 1: Confirm Light Is Strong Enough
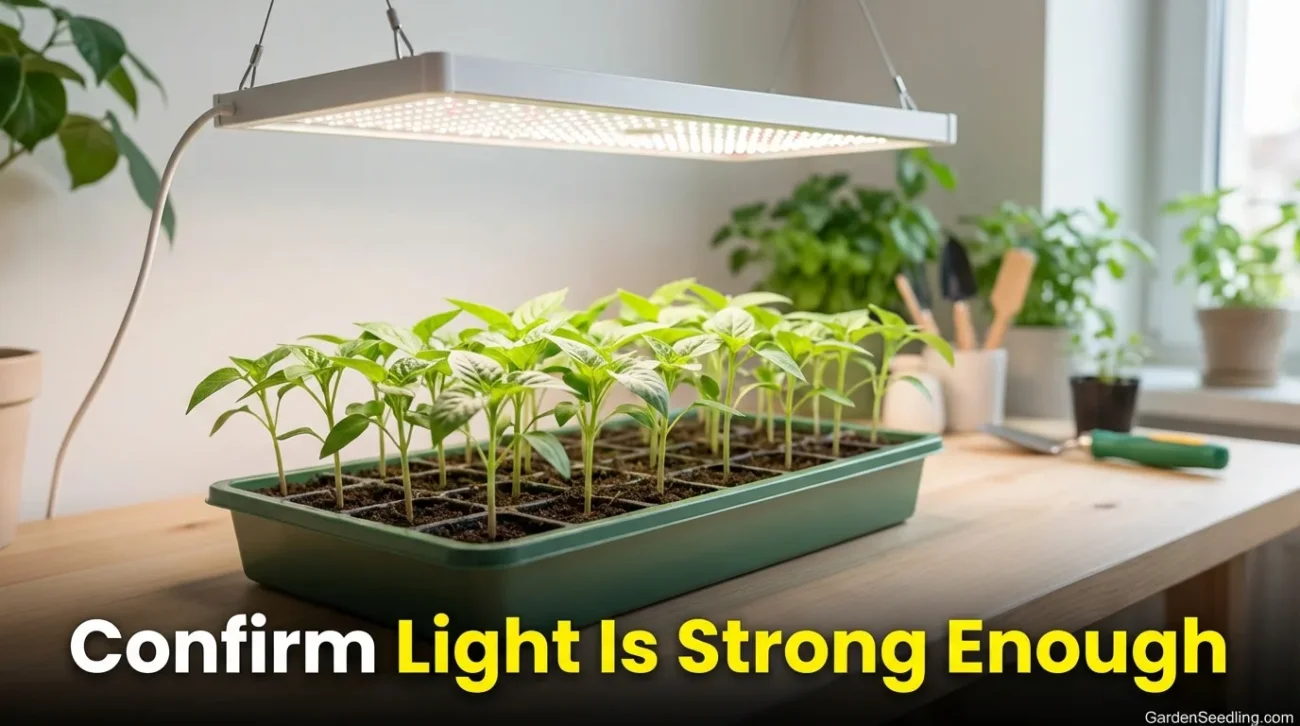
Weak light is one of the most common reasons seedlings turn pale-yellow. When light is inadequate, seedlings can’t produce enough chlorophyll, so they look washed-out and often become leggy.
- Signs: pale/yellow true leaves, long thin stems, seedlings leaning hard toward a window.
- Fast fix: move seedlings under a grow light (or improve your setup) immediately after germination.
Step 2: Check Moisture and Oxygen at the Roots
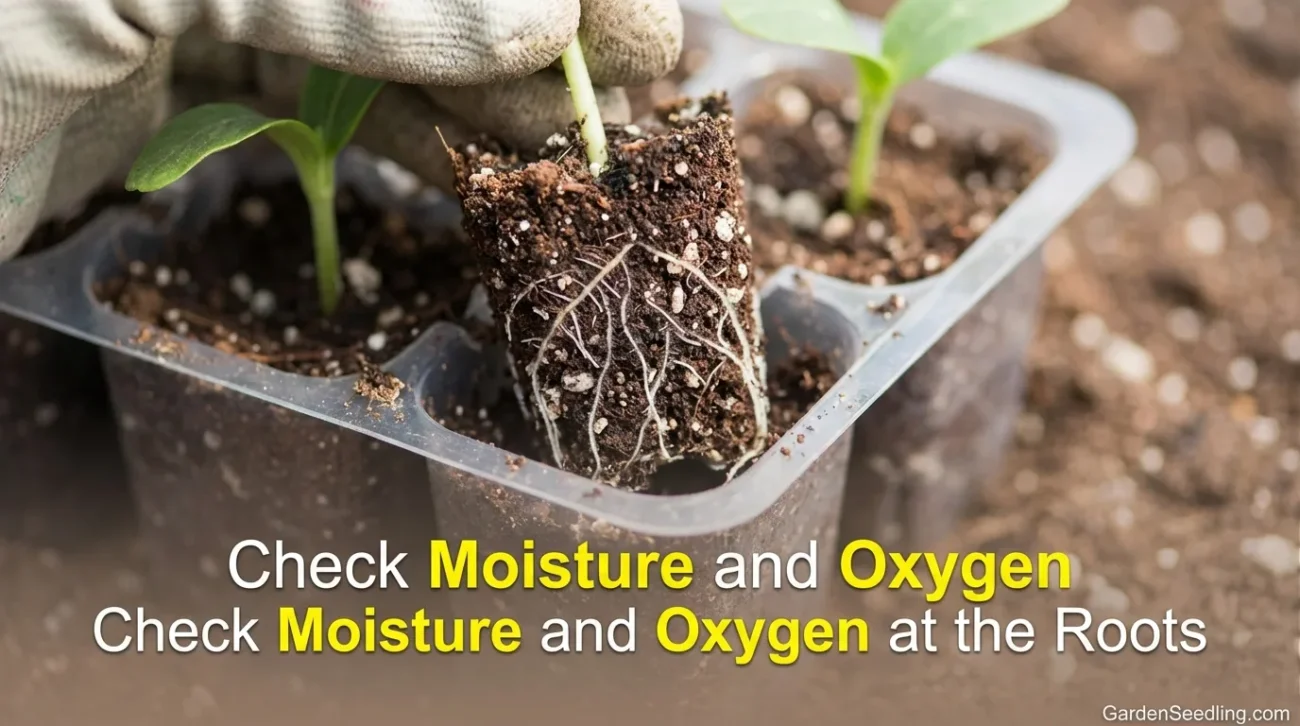
Seedling roots need both water and oxygen. When the mix stays constantly wet, roots struggle, nutrient uptake drops, and leaves can yellow.
- Signs of “too wet”: sour smell, algae on the surface, droopy seedlings even though the mix is wet, slow growth, fungus gnats.
- Signs of “too dry”: mix pulls away from cell edges, seedlings wilt midday, crispy leaf edges.
Step 3: Look at Temperature and Airflow
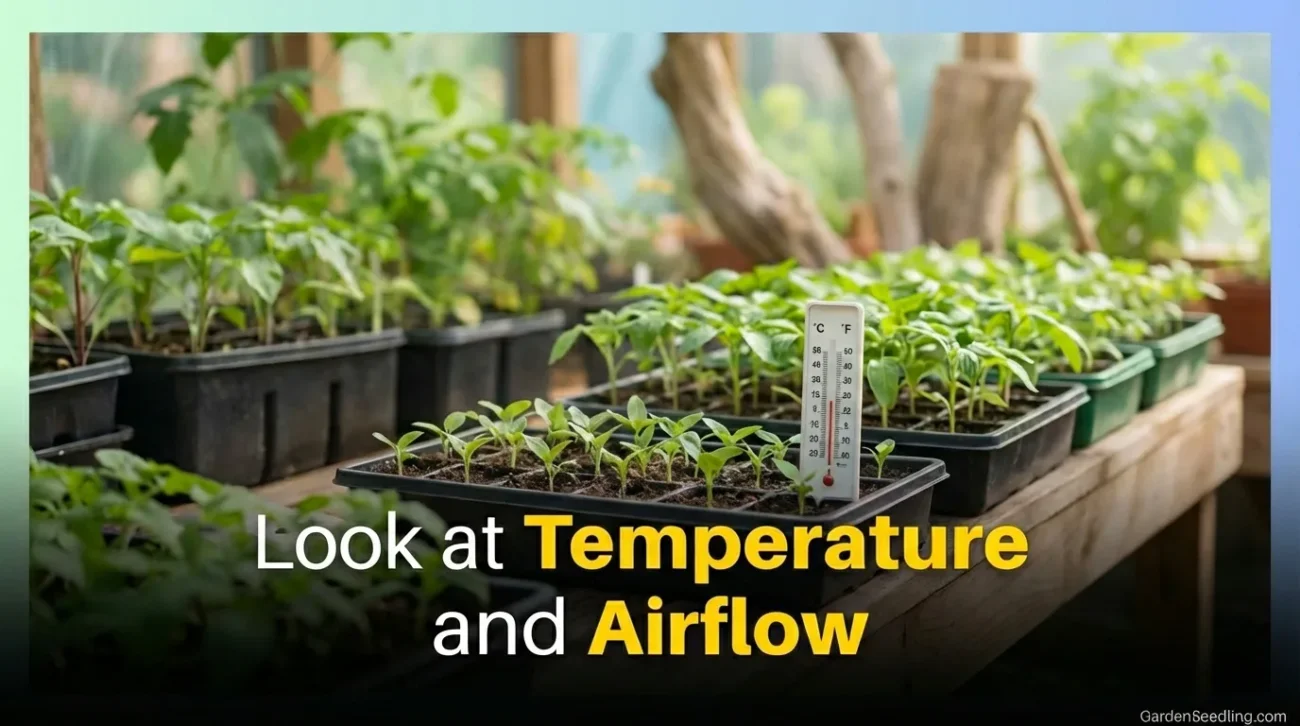
Cool conditions slow root activity and nutrient uptake, which can show up as yellowing even when watering seems fine. Stagnant air plus wet mix can also raise disease risk.
- Target range for many seedlings: mild days and cooler nights, not hot and steamy.
- Fast fix: add gentle airflow (small fan on low) and avoid placing trays against cold windows at night.
Step 4: Decide If It’s Time to Feed

Some seed-starting mixes contain little to no nutrition, while many potting mixes include a starter charge. That difference matters. If seedlings are in a nutrient-free seed-starting mix, they can start to yellow once true leaves expand and growth speeds up. If your mix says it “feeds for weeks/months,” hold back longer.
Step 5: Rule Out Disease (Especially Damping-Off)
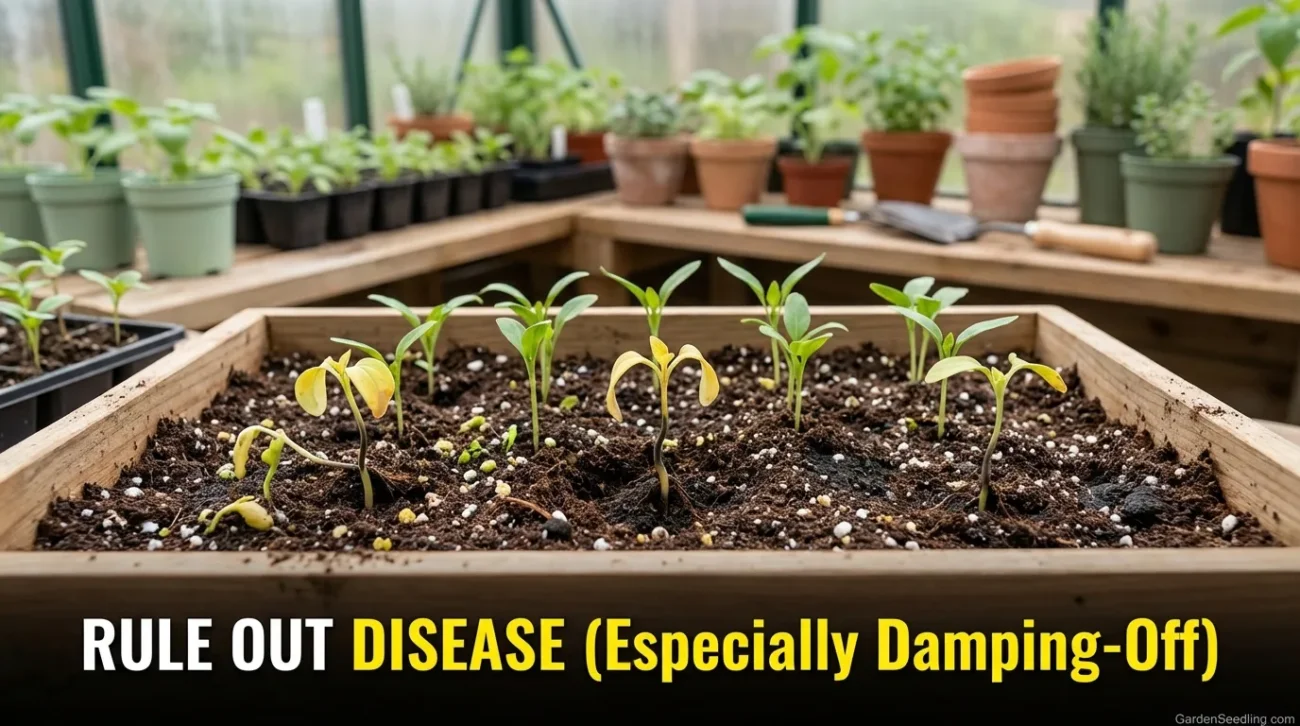
If seedlings are yellowing and also collapsing, shrinking at the soil line, or showing mushy stems, treat it as a disease risk. Damping-off spreads fast in trays and prevention is more effective than rescue.
Light Problems: Pale, Stretchy, Yellow Seedlings
Even a bright window is often not enough for strong indoor seedlings. Most seedlings need long, bright days to stay compact and green. When they don’t get it, chlorophyll production drops and leaves look lighter than they should.
How to Set Grow Lights for Seedlings
- Duration: aim for 14–16 hours of light daily, then darkness at night for rest.
- Distance: keep lights close enough to be effective, but not so close they cause stress. For many fluorescent shop-light setups, that can mean positioning seedlings very near the tubes. For LEDs, follow the manufacturer’s distance guidance and adjust based on plant response.
- Coverage: spread seedlings so every cell gets similar light. Corners often yellow first when coverage is uneven.
If the top leaves improve within 3–7 days after fixing light, you’ve likely found a major cause. Older yellow leaves may not turn green again, but new growth should look noticeably better.
Watering And Drainage: Too Wet vs Too Dry
Water problems cause yellow seedlings in two opposite ways: roots can’t function when they’re suffocating in soggy mix, and they also can’t absorb nutrients when they’re repeatedly dried out. The goal is even moisture with breathing room.
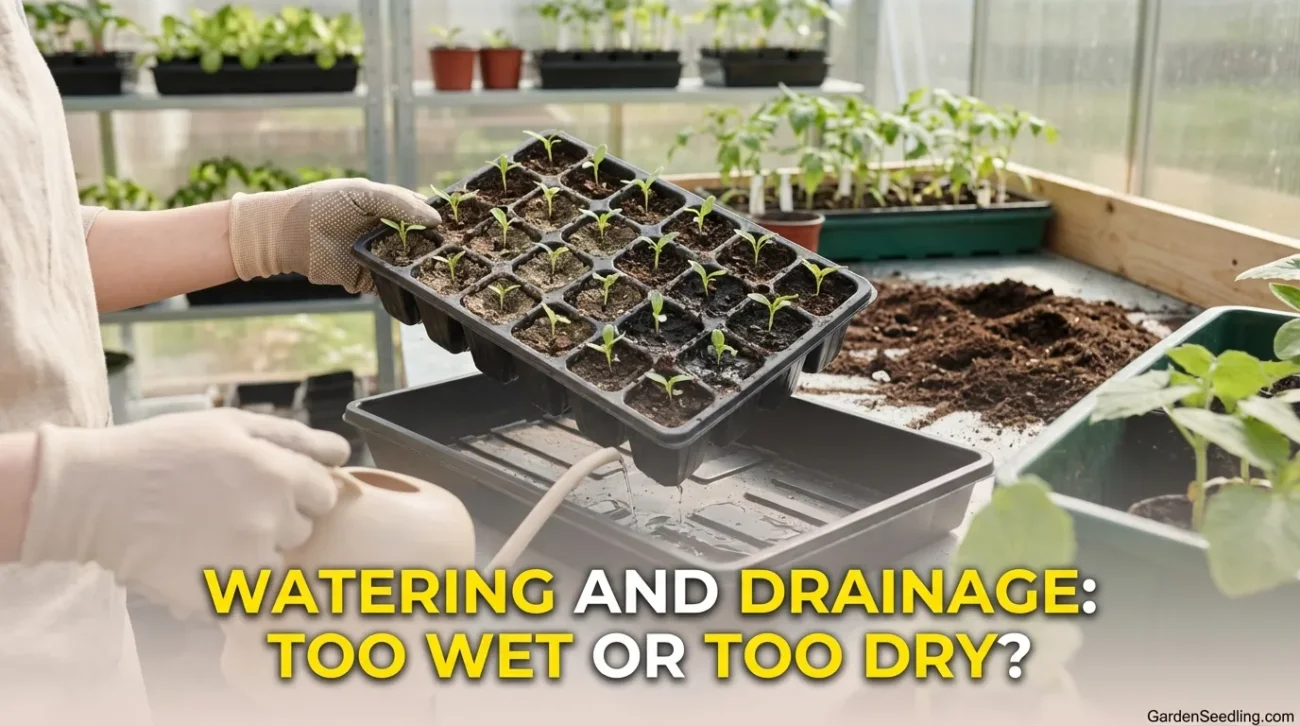
What “Correct Moisture” Looks Like in Seed Trays
- The surface can dry slightly, but the root zone stays lightly moist.
- Cells feel lighter when it’s time to water (lift the tray to compare after watering).
- Water drains freely—no standing water in the bottom tray for hours.
Better Watering Habits That Prevent Yellowing
- Water when needed, not on a schedule. Check the surface and tray weight.
- Bottom-water when possible. Let the mix wick up moisture, then pour off excess after 15–30 minutes.
- Use containers with drainage holes. “Cute” cups without holes often lead to chronic yellowing.
- Avoid softened water. Softened water can add salts that stress seedlings and worsen yellowing.
Nutrients: When Yellow Means Hungry (Or Burned)
Yellowing tied to nutrition usually shows up after true leaves expand and growth speeds up. The pattern gives clues: older leaves going yellow first often points toward nitrogen deficiency (a mobile nutrient), while very new leaves turning yellow with green veins can suggest iron chlorosis—often related to pH, cold roots, or excess salts.
When to Start Fertilizing Seedlings
A practical rule: start feeding when seedlings have at least one set of true leaves and they are actively growing. If you used a potting mix that includes fertilizer, you may be able to wait longer. If you used a plain seed-starting mix, you may need to feed sooner and more consistently.
How to Fertilize Without Causing More Yellowing
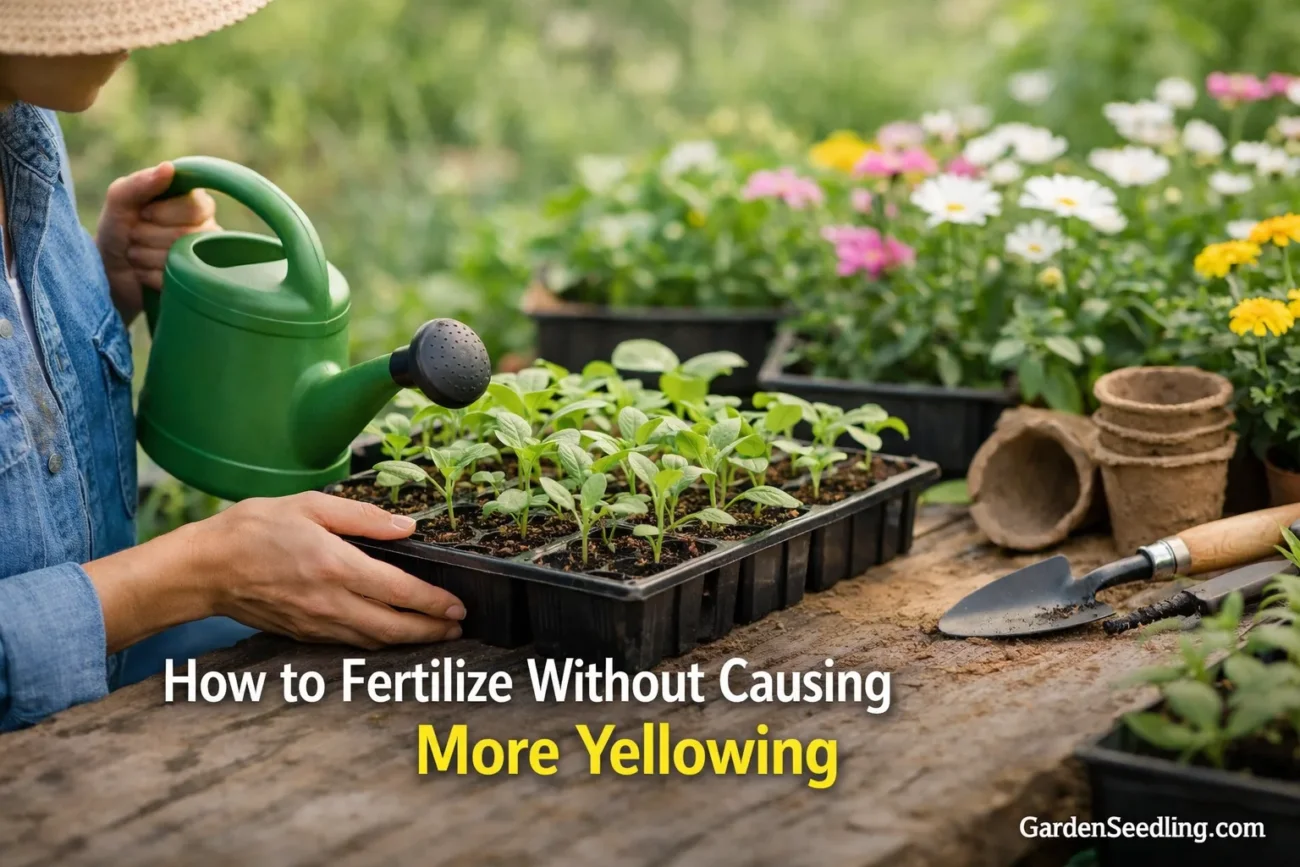
- Use a diluted solution. Start at about 1/4 to 1/2 strength of a balanced liquid fertilizer.
- Feed lightly and regularly. Gentle weekly feeding is safer than a strong “catch-up” dose.
- Never fertilize dry mix. Lightly water first so roots aren’t shocked.
- Watch for fertilizer burn. If leaf tips brown or seedlings suddenly look worse, flush with plain water and reduce strength.
Salt Buildup: A Sneaky Yellowing Trigger
Even if you fertilize correctly, salts can build up in small cells—especially if you top-water heavily or let trays sit in runoff. A simple fix is a gentle flush: water from the top until it drains freely, then discard the drainage. Do this occasionally rather than constantly.
Temperature And Airflow: The Hidden Stressors
Seedlings are sensitive to extremes. Cold root zones slow nutrient uptake and can create yellowing that looks like a deficiency even when nutrients are present. Overly warm, humid air can push weak growth and raise disease risk.
- Keep seedlings out of cold drafts and away from icy window glass overnight.
- Reduce humidity after sprouting. Remove domes once most seeds are up to prevent fungal problems.
- Add gentle airflow. A small fan on low helps strengthen stems and reduces overly damp conditions.
Root Space And Transplant Timing
In seed trays, roots can fill the cell quickly. When roots run out of oxygen and space, seedlings stall and can yellow. This is common when seedlings stay crowded in flats too long.
Signs It’s Time to Pot Up
- Roots are circling the bottom or poking out of drainage holes.
- Growth slows even though light and moisture are good.
- Leaves are smaller than expected and color is fading.
Pot up when seedlings have true leaves and are large enough to handle. Hold seedlings by their leaves, not the stem, and keep them shaded from harsh conditions for a day or two after transplanting.
Disease And Pests: When Yellow Is a Warning Sign
Most yellowing is environmental, but it’s important to recognize red flags. If seedlings develop water-soaked lesions, thin stems at the soil line, or rapid collapse, damping-off is a top suspect. If yellowing is paired with stippling or webbing, check for spider mites (more common in very dry indoor air).
If You Suspect Damping-Off
- Remove affected seedlings immediately. They rarely recover and can spread pathogens.
- Reduce moisture and increase airflow. Let the surface dry slightly between waterings.
- Improve sanitation. Use clean trays, fresh mix, and avoid reusing contaminated media.
Symptom-to-Fix Table
| What You See | Most Likely Cause | Do This Today | Prevent Next Time |
|---|---|---|---|
| Only cotyledons yellow; true leaves green | Normal leaf transition | Keep care consistent; don’t over-correct | Track stages; avoid overwatering while cotyledons fade |
| Pale/yellow true leaves + leggy stems | Insufficient light | Move under grow lights; increase intensity | Use 14–16 hours light; keep lights appropriately close |
| Yellowing + slow growth; mix stays wet | Overwatering/poor drainage | Let surface dry; bottom-water; improve drainage | Use airy seed-starting mix; trays with holes |
| Older leaves yellow first; new growth small | Nitrogen shortage (often in nutrient-free mix) | Feed with diluted balanced fertilizer | Start gentle feeding after true leaves if mix has no nutrients |
| New leaves yellow with greener veins | Iron chlorosis (pH/cold roots/salt stress) | Warm root zone; flush salts; check water quality | Avoid softened water; don’t overfertilize; keep temps steady |
| Seedlings collapse; thin at soil line | Damping-off | Discard affected plants and media; sanitize | Fresh mix, clean trays, avoid cool/wet conditions, add airflow |
Common Mistakes That Make Seedlings Turn Yellow
- Keeping humidity domes on too long after sprouting.
- Watering on a fixed schedule instead of checking the mix.
- Using containers with no drainage holes.
- Placing lights too far away, especially with weak bulbs.
- Starting fertilizer too strong, too early, or applying it to dry mix.
- Leaving seedlings crowded in flats until they compete for light and oxygen.
- Using water from a water softener (salt stress).
Practical Tips to Improve Color Fast
If you want greener seedlings within a week, focus on the “big three”: light, drainage, and gentle nutrition. Small changes stack up quickly.
- Increase light consistency. Put lights on a timer for 14–16 hours daily.
- Let the surface approach “nearly dry” before watering again.
- Add airflow. A fan on low helps prevent overly damp conditions.
- Start diluted feeding once true leaves are working hard—especially in nutrient-free mixes.
- Pot up on time. Don’t let roots sit cramped in tiny cells for weeks.
FAQ
Is It Normal for Cotyledons to Turn Yellow After Sprouting?
Yes. If only the cotyledons (seed leaves) yellow while true leaves stay green, it’s often a normal stage as the plant shifts into active growth.
How Soon Should I Fertilize Seedlings After They Sprout?
Start once seedlings have true leaves and are growing steadily. Use a diluted, balanced fertilizer, and adjust based on whether your mix contains starter nutrients.
Can Overwatering Cause Yellow Seedlings Even If the Soil Looks Fine?
Yes. If the mix stays wet, roots can lack oxygen, which reduces nutrient uptake and causes chlorosis. Let the surface dry slightly between waterings.
How Many Hours of Light Do Seedlings Need to Stay Green?
Most seedlings do well with 14–16 hours of strong light each day, followed by darkness at night.
Why Are My Seedlings Yellow with Green Veins?
This can happen with iron-related chlorosis, often linked to cold roots, pH issues, or salt buildup. Warm the root zone and reduce salt stress before adding more fertilizer.
Should I Remove Yellow Leaves from Seedlings?
If it’s just yellow cotyledons, you can usually leave them until they dry and fall off. Remove leaves only if they are mushy, moldy, or spreading disease.
If you correct light and moisture first, most seedlings will reward you with greener new growth within a week. Keep changes small and consistent, and focus on what the newest leaves are telling you.